Thanks for your positive feedback’s , which motivated me to continue writing. we will continue with the next part which is using angular controller.
In previous post we saw, how we can inject angular and start using the angular expression. As of now we are keeping MVC routing, so the developers who have used MVC can easily pick it up. As we move further, we will also see routing using angular, we will cover ng-route and ui-router as well.
In this example we will create a simple page and see how we can get data to MVC view using angular controller.
- It’s always a good pratice to organize our code properly, MVC structure has already taught us how to do it. Let’s structure our javasript files as well.
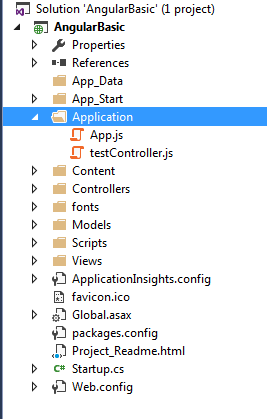
- We will have following structure Application as our root folder and have .js files under the folder.
- So we know how to create a new folder, just right click on your project and click Add Folder
- Once this folder is ready let’s add 2 javascript files “App.js” and “testController.js”, beolow is the structure, how it should look like now.
- As we are aware all application has name, angular also reqires one module name, now open App.js file and add below line, the below code creates a module called myApp.

- If you remember we had added ng-app directive in our application and it was left blank, let’s go ahead and modify the tag and add ng-app=”myApp”
- Include App.js file in _Layout view.
- Press F5 and check if application and angular is still working fine.
- Before going ahead most of we already know, we can get the intellisence for javascript as well.Just drag the angular.js (or any javascript library you are working with) file into your app.js and testController.js file, you will have C# like intellisence where it will promt you for method and parameters.
- We will first start with basic, we will pass a parameter named “Name” to our View.
- We will be using 2 angular services (we will cover angular services in detail in coming tutorails, we are expectig you have some basic knowledge on angular). The services which we are going to use is $scope,$http.
- Let’s modify out testController.js file and add below code.

- In above code we are creating a variable called Name, which can be passed to our view.
- Let’s display the name variable on our view, the great feature we have in angular is it supports 2 way binding, we will also see how it works.
- Let’s move to view now, include both the javascript files in your _Layout view, and go Home->Index.cshtml, and add {{Name}} expression on view.
- But with this change it will not work, as we have to define the scope for controller as well, as we are using Name only on Index, just add ng-controller=”testController” on parent div available, if you add this on div above @RenderBody(), the controller will be accessible for all Views. This is how your Index view looks like post changes.

- Now press F5 to see if its working, we will see below message on Home page.
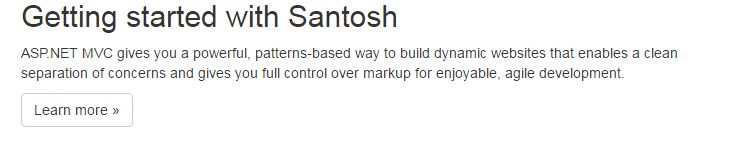
As this blog is getting very big, let’s stop here, rest of the things will be covered in next blog. Now we have good idea on how we can pass data from angular controller to view. Thanks for reading it, and keep giving your feedbacks.
In next session we will se, how we will call MVC action from controller.
